Community

Tutorials & FAQ

Get started with NioMap and NioBook.

Your first steps in NioMap and NioBook and answers to the most common questions.

How can we help?

Type your question. We look for the answer in the tutorials, the FAQ, the articles and the solutions.

Step-by-step guides · NioMap

Terrain surveys, from the flight to the results. Video tutorials are on their way.

01

Plan the flight

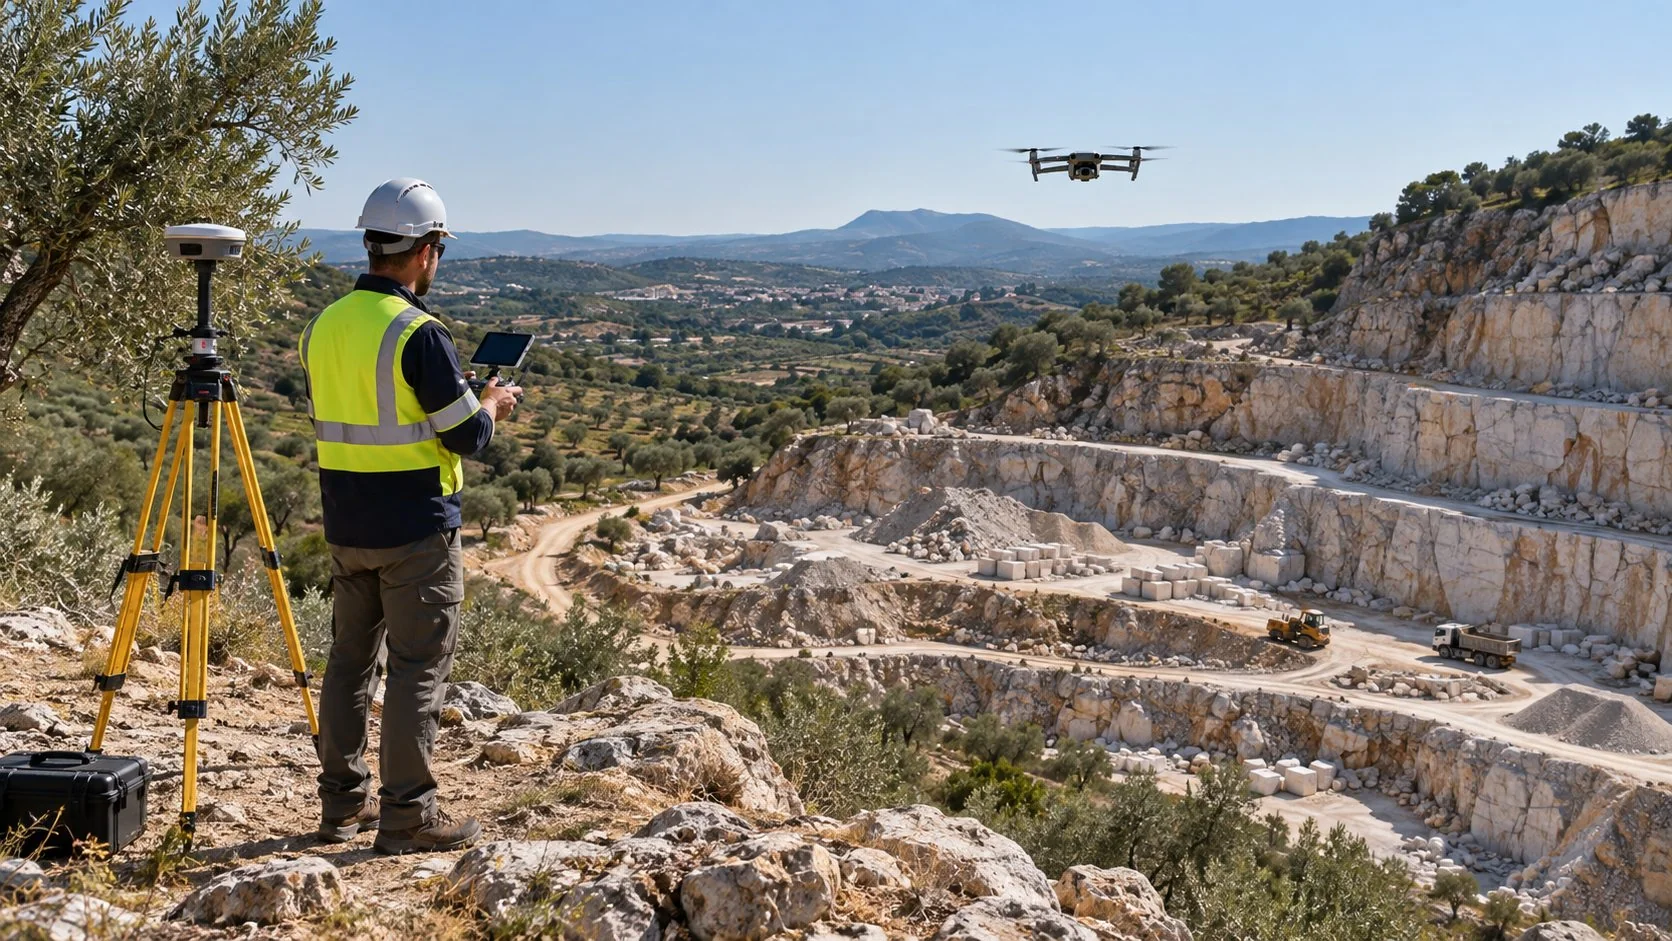
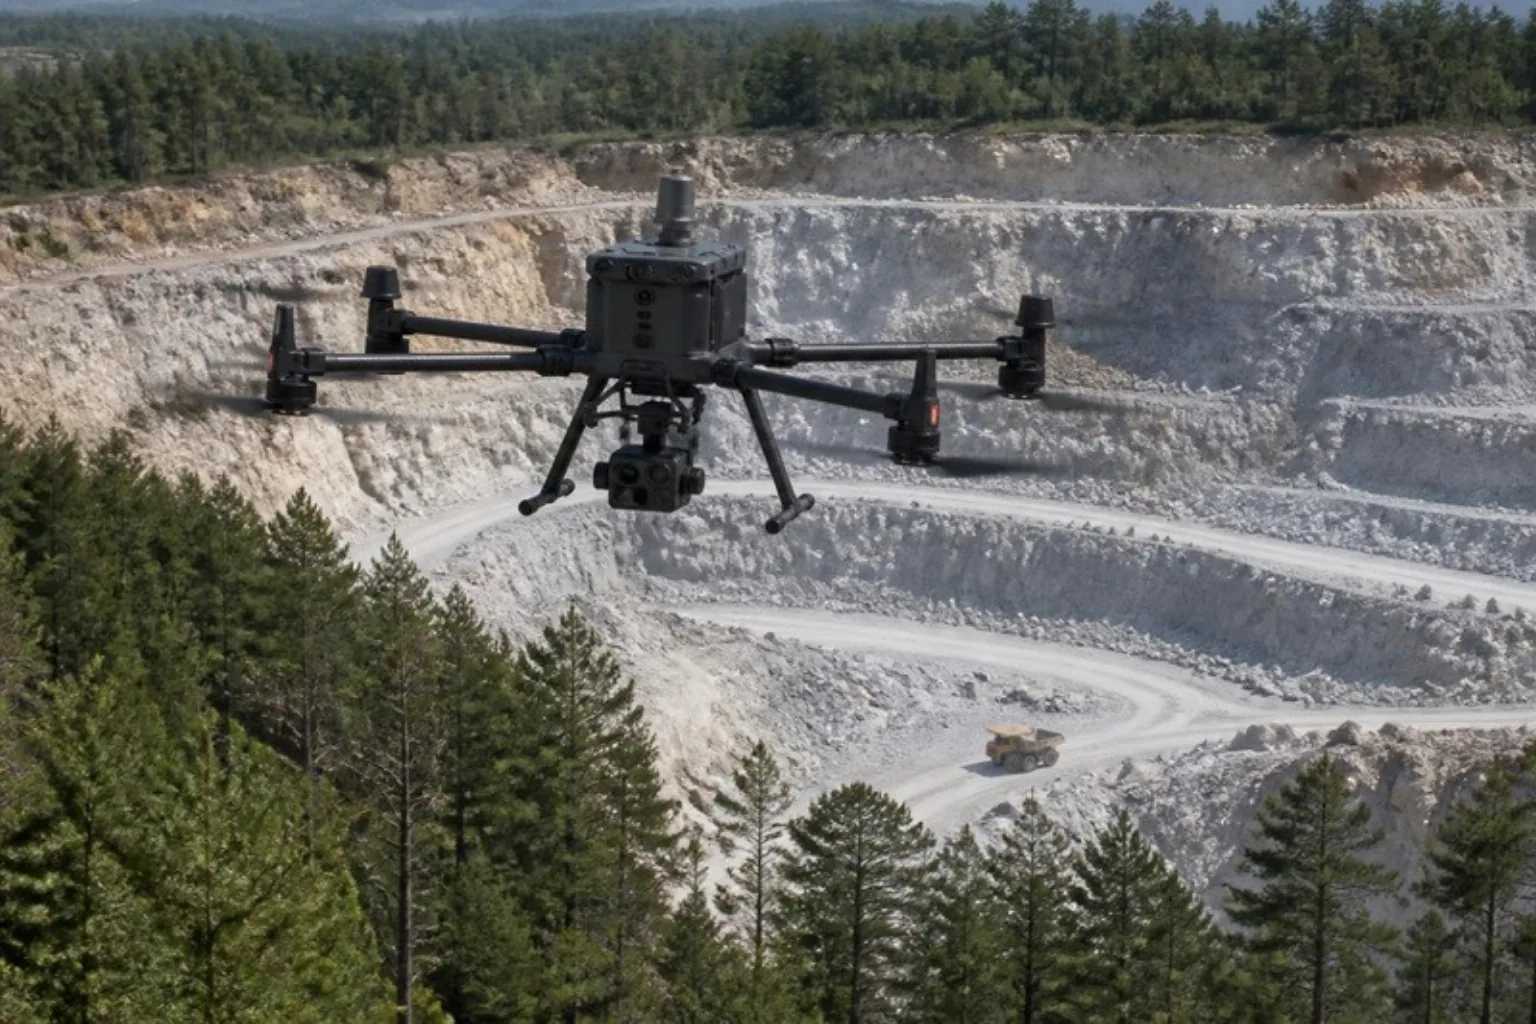
Plan the flight with your own team or, if you have no drone or don't fly, hire the capture on NioPilot: NIOTANTEK's pool of certified pilots, where you choose the pilot, the drone and the sensor in the app.

  1. Set the area and the resolution you need.
  2. Set the overlap between photos. Flying lower gives more detail but needs more images.
  3. For accuracy up to 5 cm, plan ground control points or an RTK system.
  4. No drone or pilot? On NioPilot you choose the pilot, the drone and the sensor, and follow the capture in the app until you get the data (paid plans).
See compatible drones
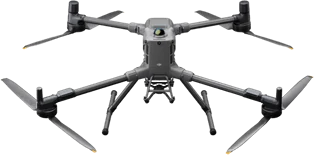
  • DJI Matrice 400
    DJI Matrice 400Multirotor
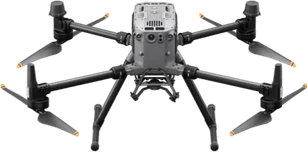
  • DJI Matrice 350 RTK
    DJI Matrice 350 RTKMultirotor
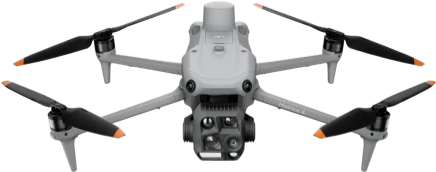
  • DJI Matrice 4E
    DJI Matrice 4EMultirotor
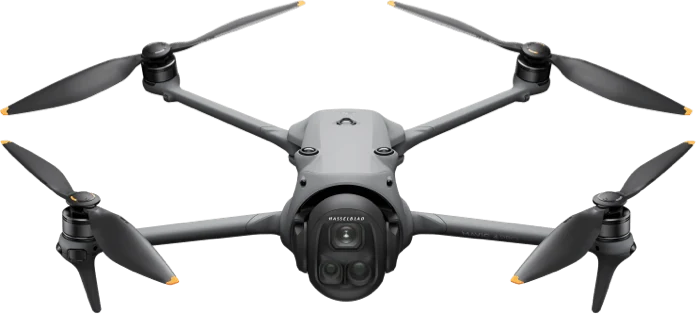
  • DJI Mavic 4 Pro
    DJI Mavic 4 ProMultirotor
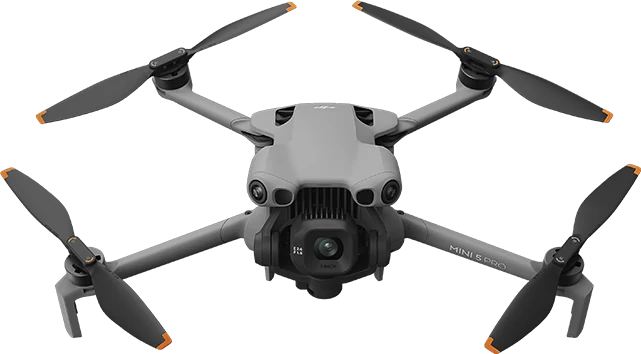
  • DJI Mini 5 Pro
    DJI Mini 5 ProMultirotor
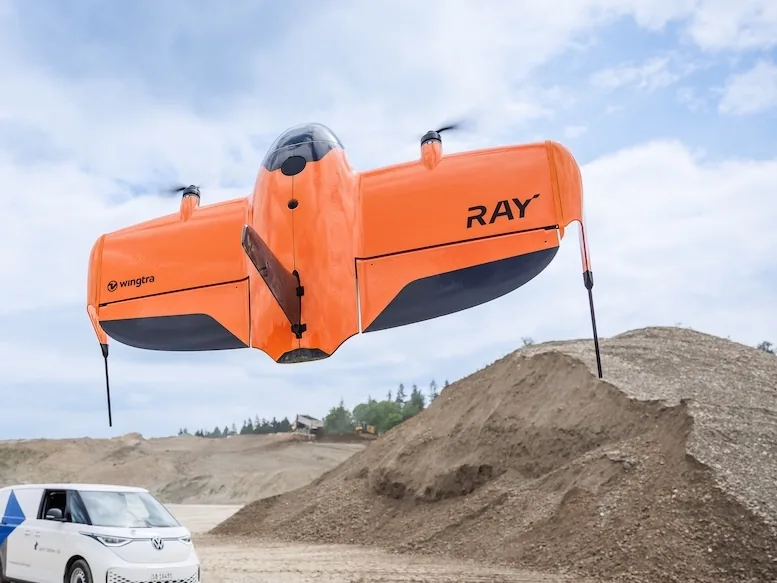
  • WingtraRAY
    WingtraRAYVTOL fixed wing
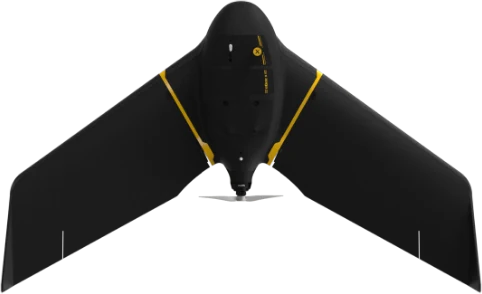
  • senseFly eBee X
    senseFly eBee XFixed wing
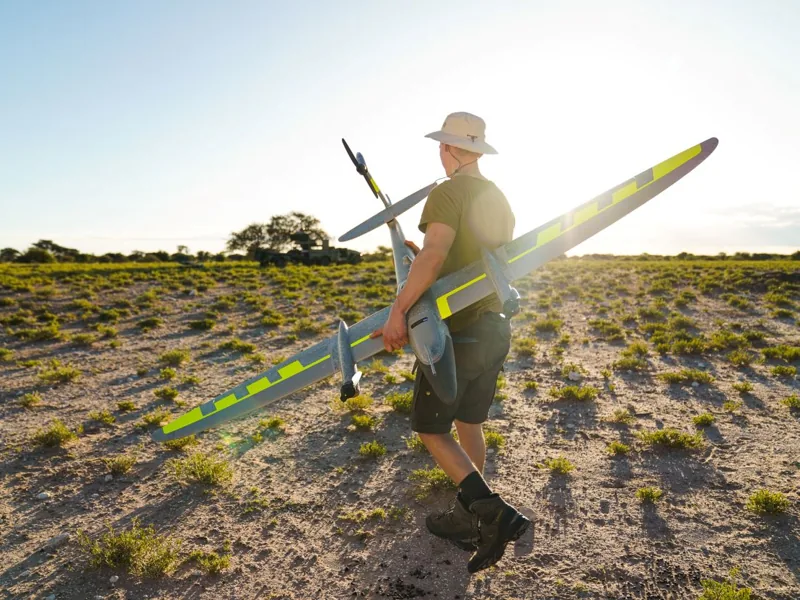
  • Quantum-Systems Trinity Pro
    Quantum-Systems Trinity ProVTOL fixed wing
Request a pilot in the platformLearn more
02

Survey on site

Flight day: prepare the site, fly and check the capture.

  1. Check the permissions to fly at the site.
  2. Place and measure the ground control points, if you use them.
  3. Fly the plan, watching wind, light and vegetation.
  4. Before leaving, check that the photos cover the whole area.
03

Upload a survey

Flight photos or results already processed.

  1. Create a project for the site.
  2. Upload the flight photos, or import the orthophoto and elevation model already processed.
  3. Each survey is kept with the flight date.
Try it with sample data
04

Automatic processing

NioMap processes the photos in the cloud, with nothing to install.

  1. Processing runs in the cloud after you upload the photos.
  2. Follow the processing status on the platform.
  3. Get the orthophoto, the 3D model, the digital elevation model and the contour lines.
See the results of a processed flight
05

Measure on the map

Distances, areas and elevations, without going back to the site.

  1. Open the survey in the 2D map.
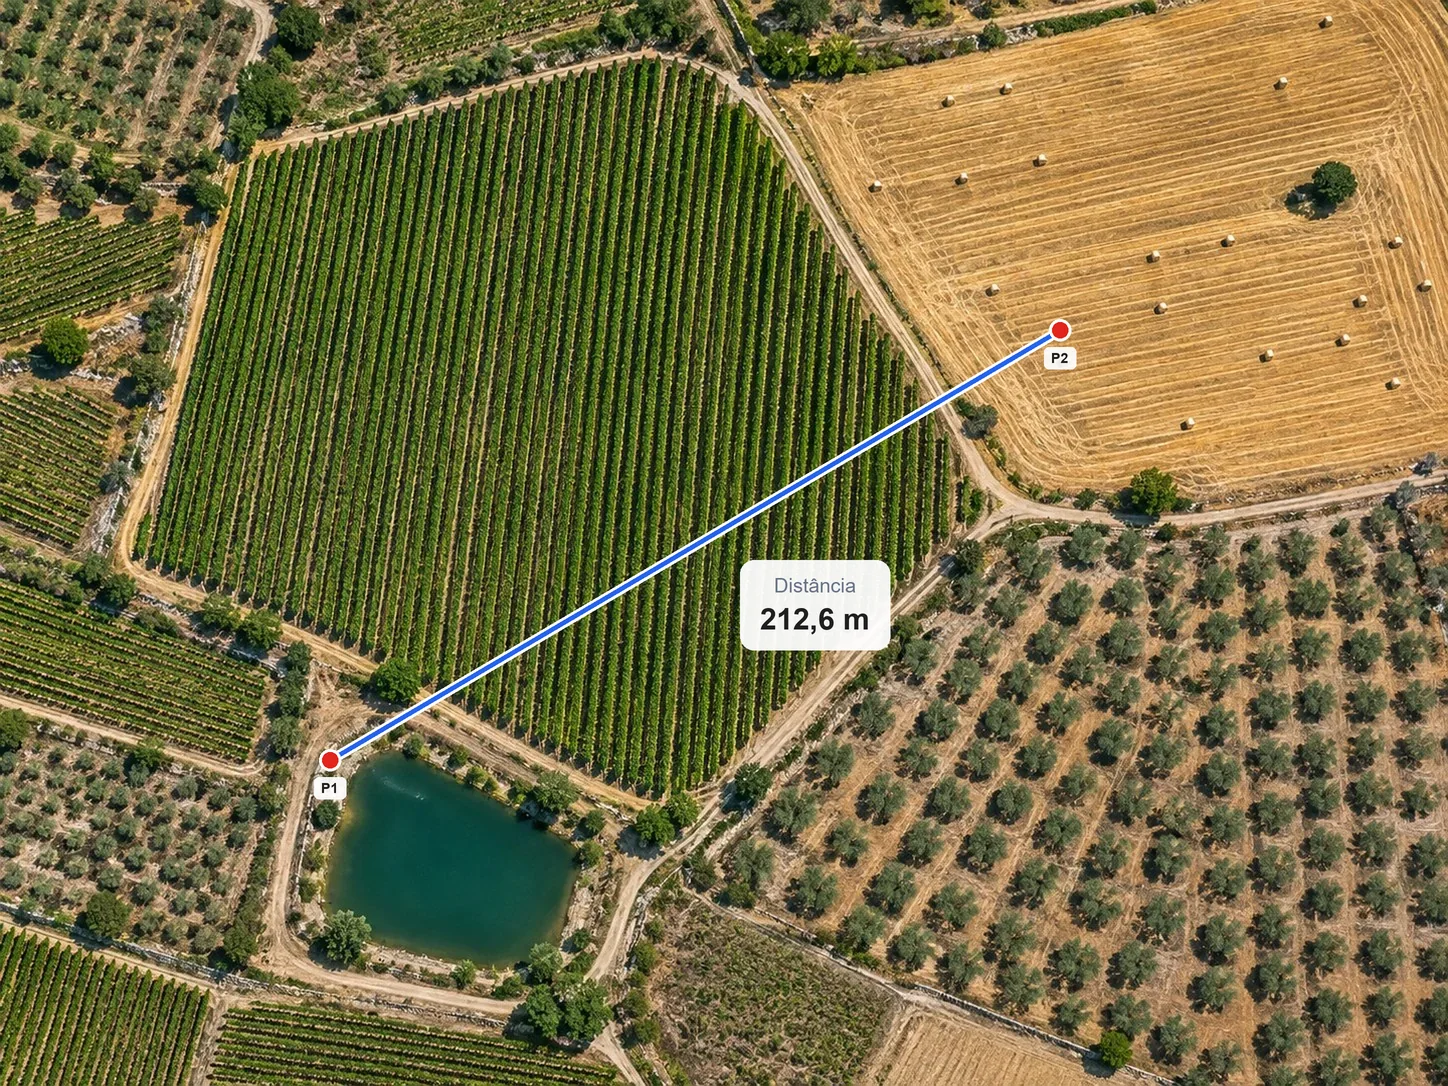
  2. Measure distances between two points on the orthophoto.
  3. Outline a zone and get the flat area, the real (3D) area and the perimeter.
  4. Read the elevation of any point on the elevation model.
Learn more
06

Calculate volume

The volume of a stockpile or an excavation, by zone.

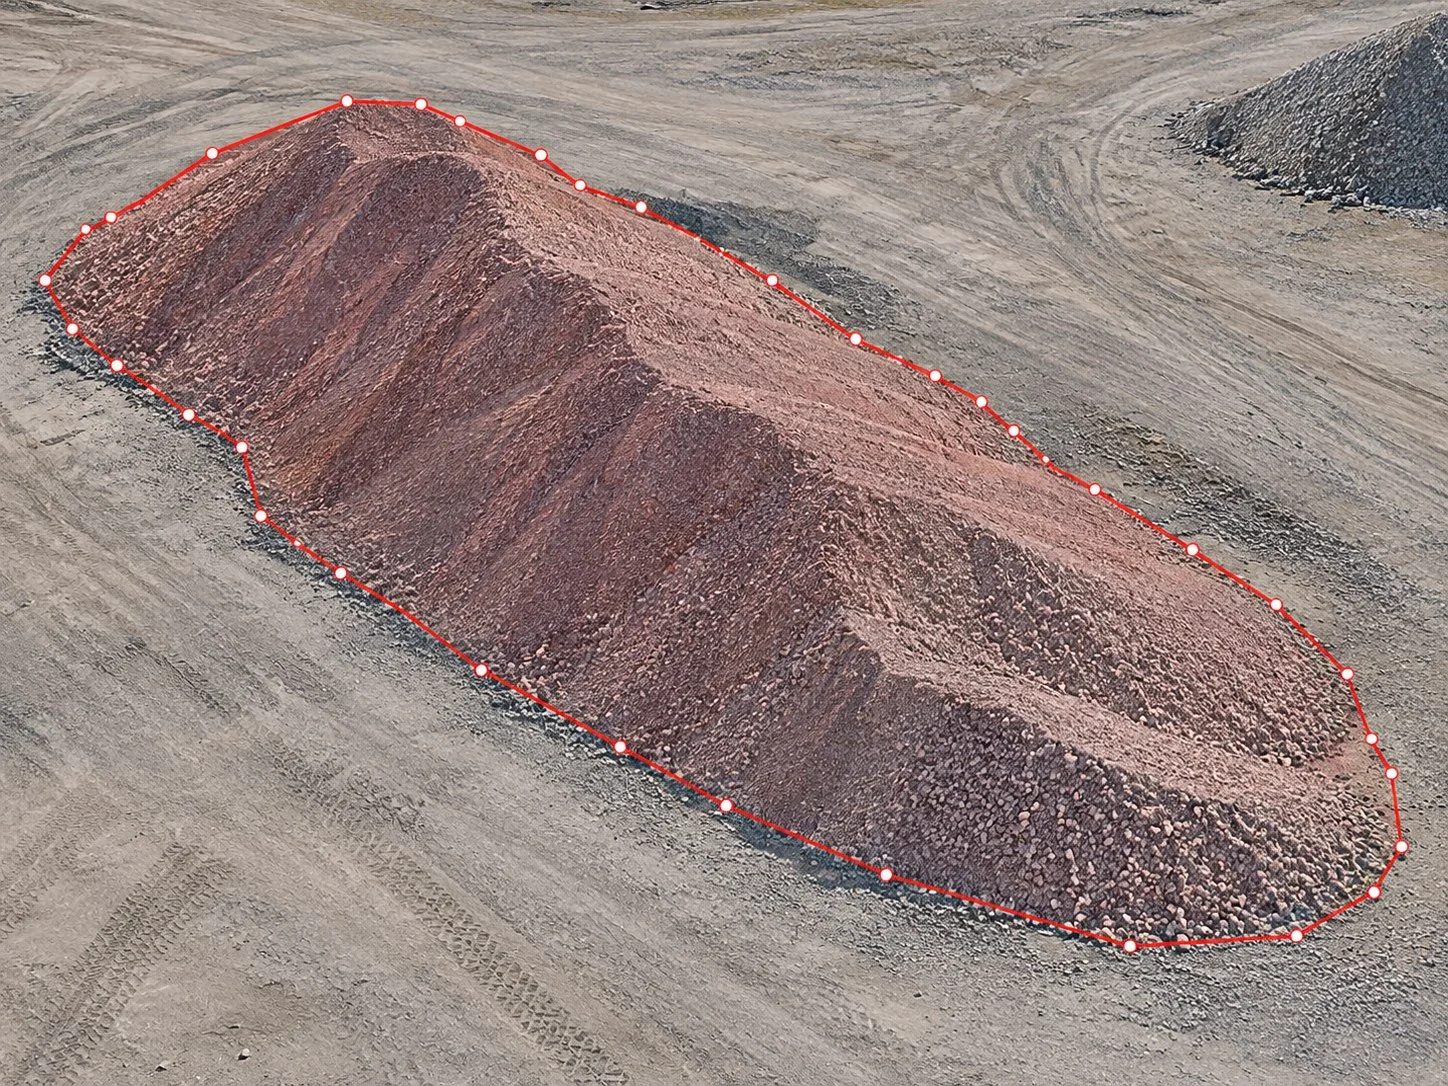
  1. Outline the zone on the map.
  2. Choose the reference: a plane, a base level or the design surface.
  3. Get the cut and fill volume in m³ and the cut-and-fill map.
  4. Save the measurement to review it later.
Learn more
07

Calculate the terrain profile

The profile along a line, calculated automatically.

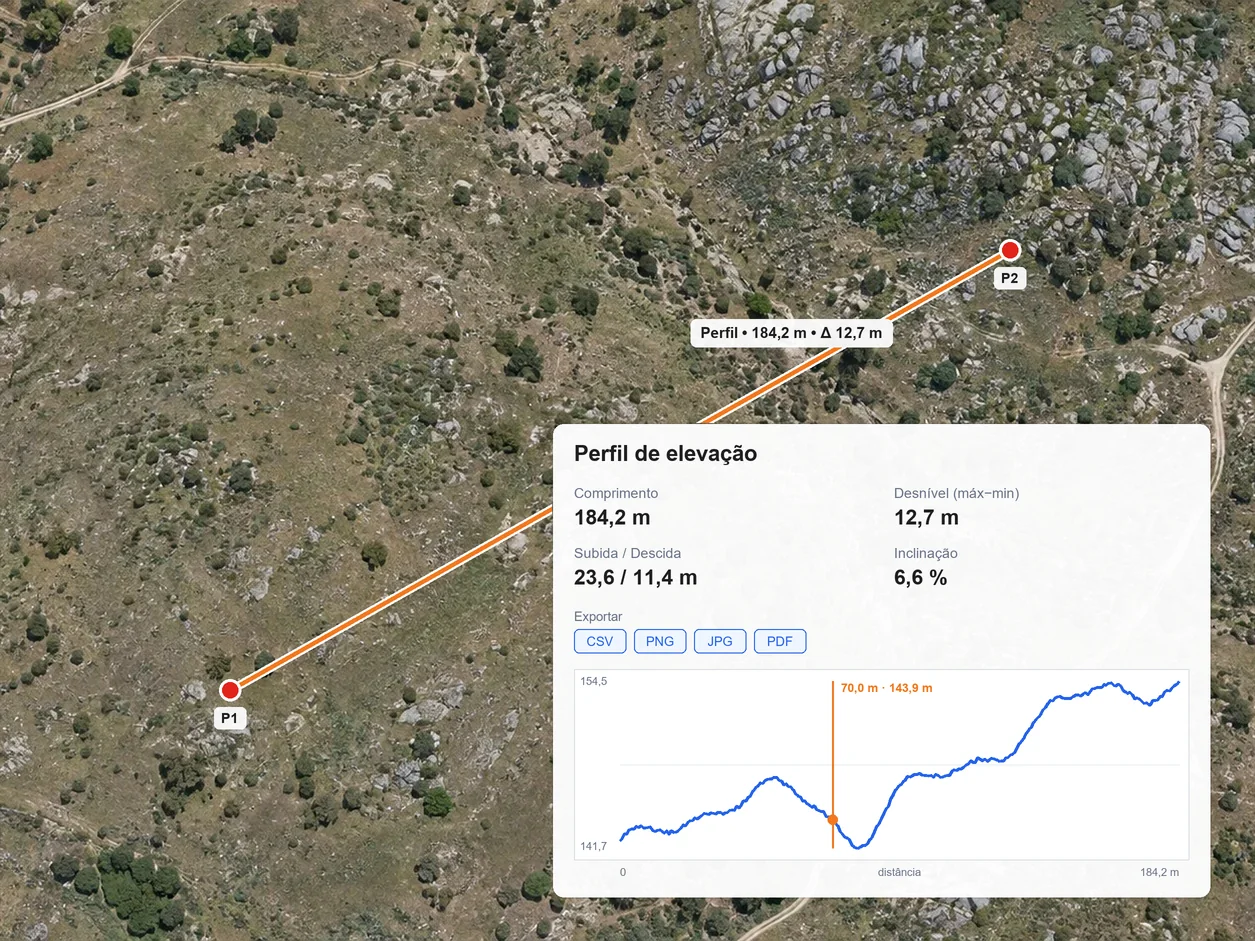
  1. Draw a line on the survey.
  2. See the elevation chart, the length, the height difference and the slope in %.
  3. Export the chart as PNG, JPG or PDF, the elevation table as CSV or the vector via API.
Learn more
08

Create automatic maps and reports

The survey maps and a report with the measurements, without putting them together by hand.

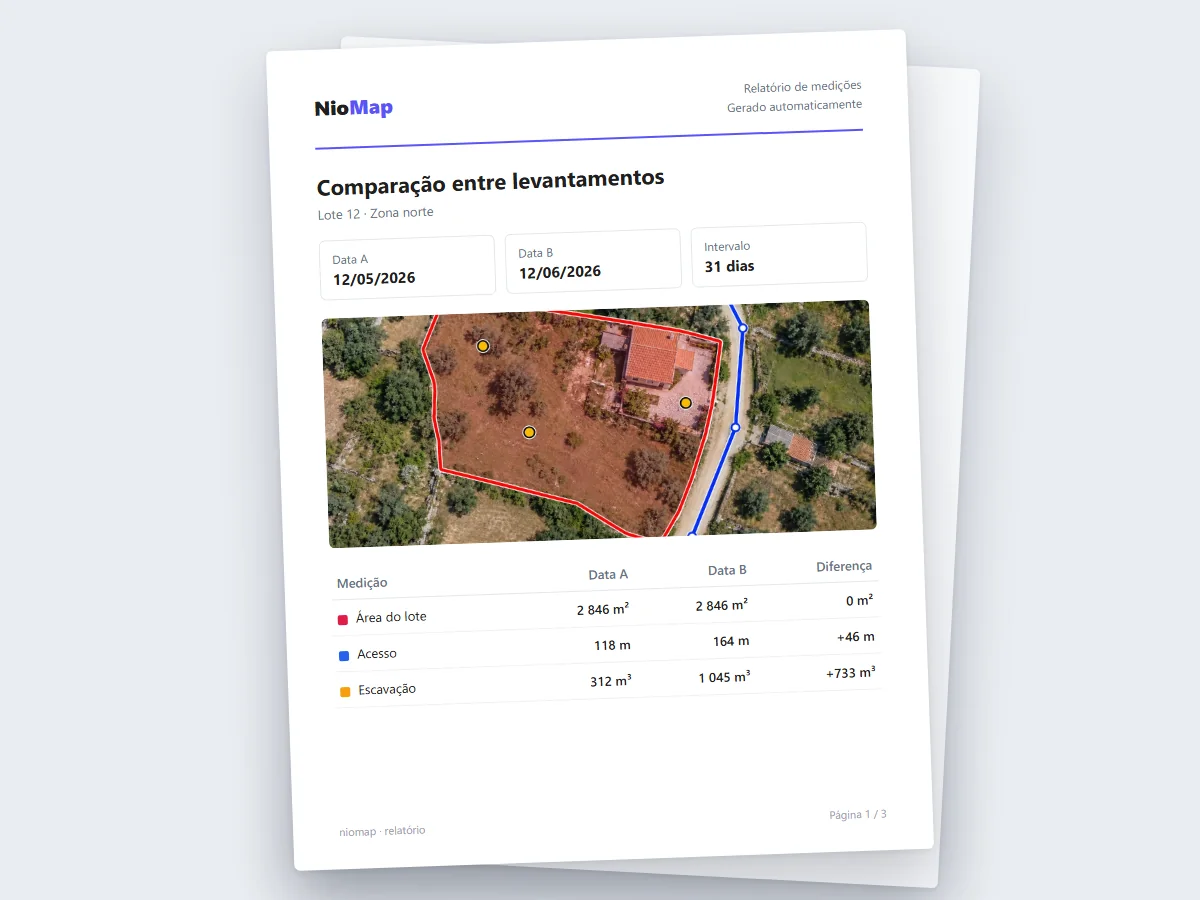
  1. Choose the layers to show: orthophoto, elevation model, slope or contour lines.
  2. Saved measurements go into the automatic report.
  3. Get the report with the areas, volumes and profiles, ready to share.
Learn more
09

Share results automatically

Whoever has access sees new results in the browser, with no files to send.

  1. Invite people by email or copy a share link, which opens without an account.
  2. Choose each person's access level.
  3. Send orthophotos, models and measurements via API, WMTS or IFC to AutoCAD, ZWCAD, QGIS, ArcGIS, Aplitop MDT, Revit, ArchiCAD, ARCHLINE.XP or Blender.
  4. Show the map and the 3D model on your company website, with the embed code.
Learn more

Frequently asked questions · NioMap

Getting started

Data capture

Processing and measurements

Sharing and integrations

Free account

Try it with your own data.

Create a free account: it includes 1 hour of processing and up to 10 GB of storage.